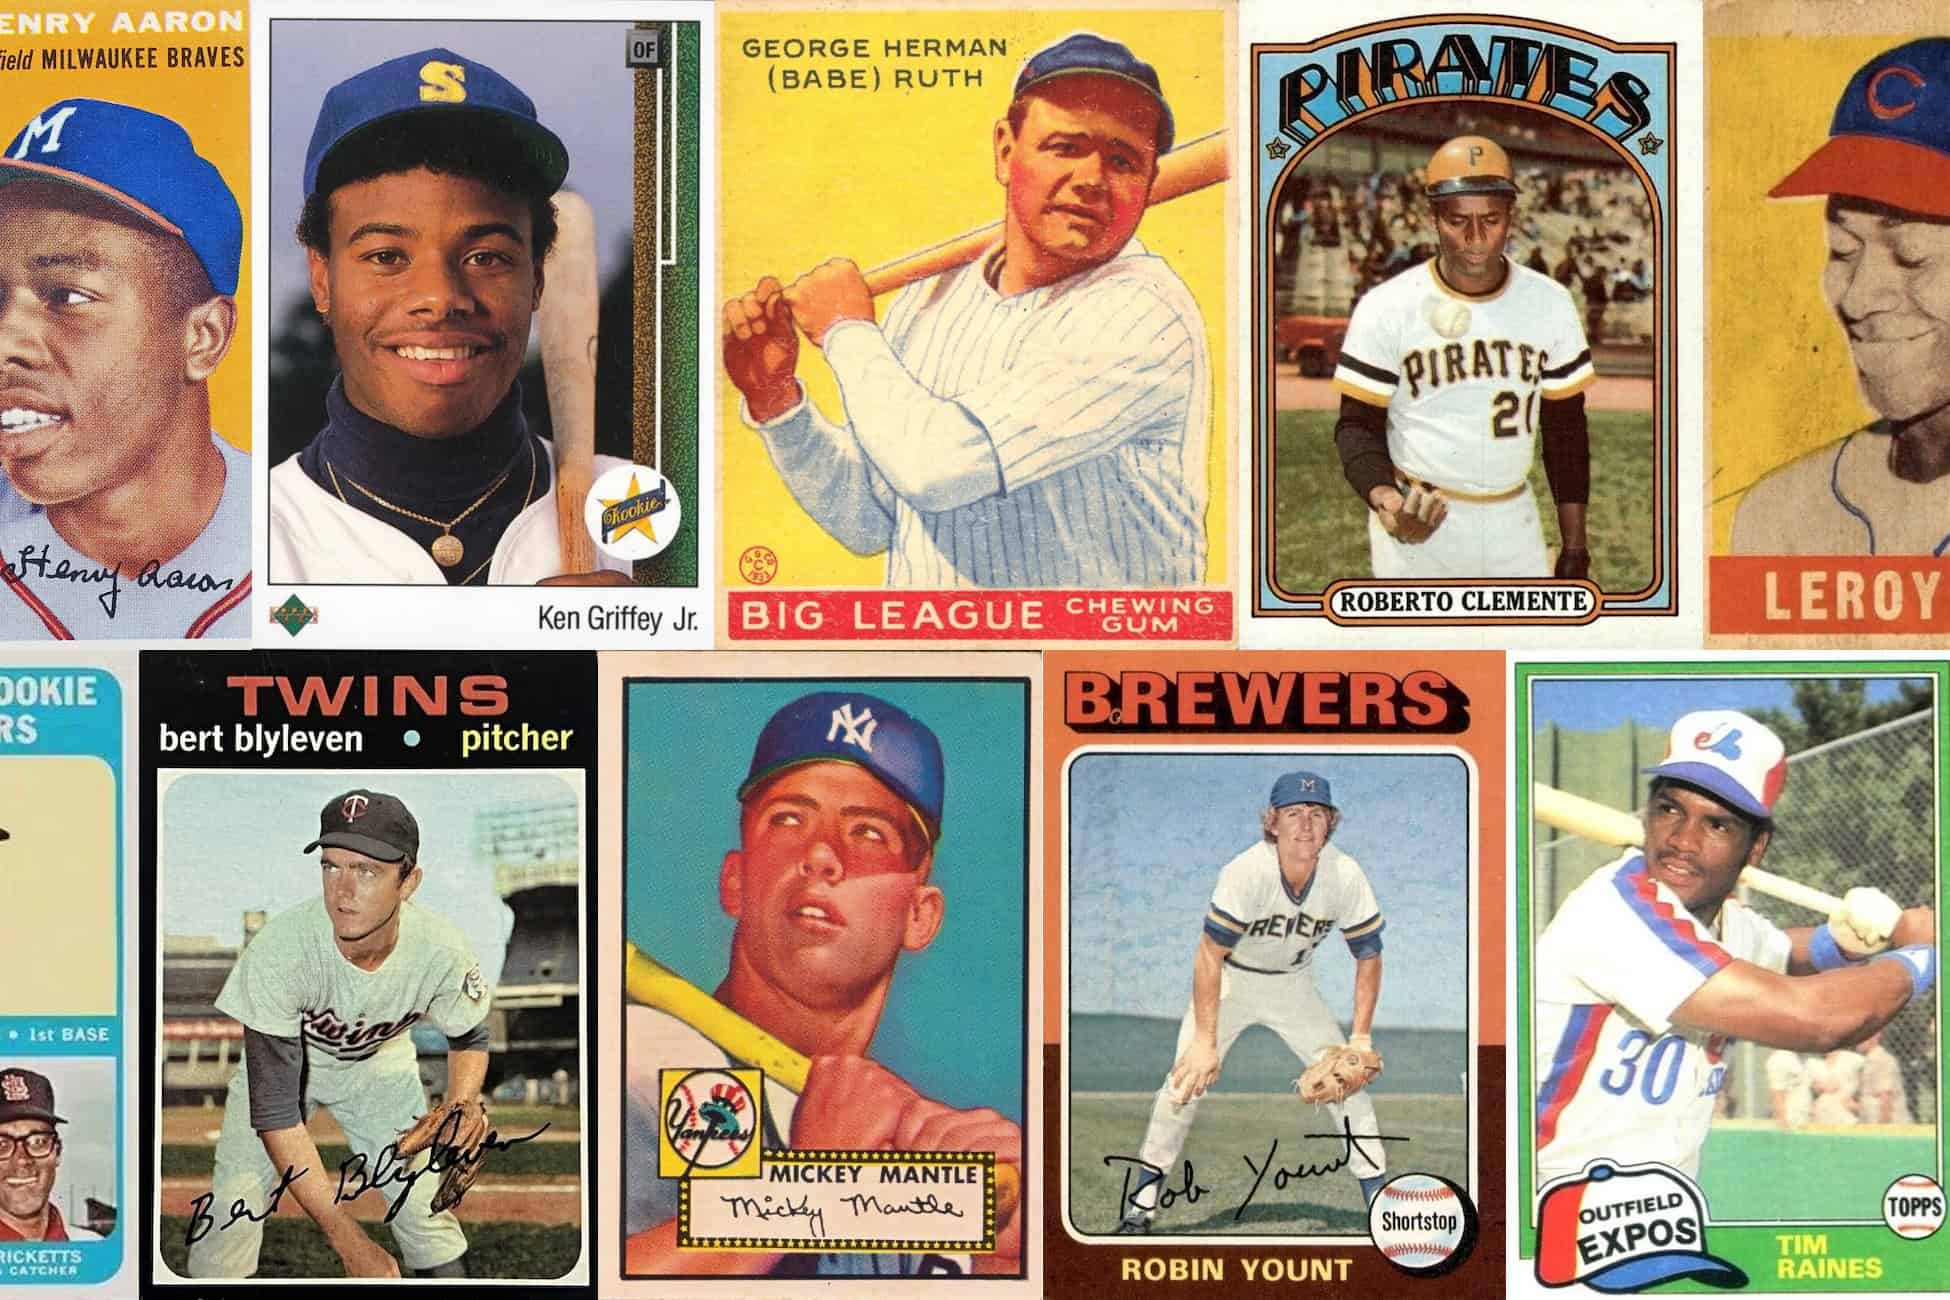
Baseball cards are more than collectibles – they’re tiny pieces of storytelling. Every card captures a moment, a stat line, a personality. And while the hobby has evolved with autographs, relics, and short prints, one thing remains constant: the joy of holding a card made just for you or someone you care about. In this guide, you’ll learn how to make your own custom baseball cards for fun and personal use. Whether you’re designing a card for a child, a family pet, or a weekend league teammate, the process can be as simple or detailed as you like.
This article assumes you’re familiar with basic photo editing techniques and software like Photoshop, GIMP, or Canva. We’ll walk through designing, templating, photo sourcing, and printing. We’ll also address legal and creative boundaries so you can enjoy the process without crossing into copyright trouble.
Why Make Custom Baseball Cards?
The reasons for making custom baseball cards are often deeply personal. Maybe you’re designing keepsakes for a birthday party, celebrating a friend, or creating a fun memory with your kids. Perhaps you want to immortalize your dog in a Yankees cap or finally see yourself on a baseball card. Whatever the reason, when done thoughtfully, these cards become more than just paper – they’re conversation starters, heartfelt gifts, and lasting mementos filled with personality and sentiment.
Custom cards allow for a high level of creativity. You can edit photos, write your own bios or stat lines, and design layouts that reflect humor, nostalgia, or celebration. Whether you’re replicating the look of a vintage Topps set or inventing a brand-new card style, the process is an opportunity for self-expression and fun.
However, it’s important to stay within legal boundaries. If the cards are strictly for personal, non-commercial use, you generally have a lot of freedom. But you should steer clear of using team logos, Major League Baseball trademarks, or copyrighted images from professional photographers unless you’ve obtained permission. Respecting these limitations helps ensure your custom creations stay fun and trouble-free.
Planning Your Card – What to Include

Before opening any software, sketch out your idea. A traditional baseball card includes both a front and a back. Even if you plan to make only a one-sided card, understanding the standard layout will help you choose what elements to include.
Front of the Card
The front is where design flair and personality shine. Most collectors expect to see:
- A photo of the player (or pet, or person)
- The name of the person
- The position
- A team name
- A logo
- A border design and background
- A year or set designation
The photo is the star of the front. Make sure it’s in focus, well-lit, and fits the aspect ratio of your card template. Avoid busy backgrounds unless you plan to remove them digitally.
Back of the Card
The back holds the data – it’s where fans turn to read stats, stories, and quirky details. Here are the essentials:
- Player name and team
- Stats (real or fictional)
- Biographical data: height, weight, hometown, birthdate
- A write-up or blurb – one or two sentences about the player
- A card number or series number
- Copyright or creator info (optional but a nice touch)
Creative additions can include nicknames, achievements, fun facts, or fictional awards. Keep the tone consistent with your card’s overall theme.
Creating a Card Template
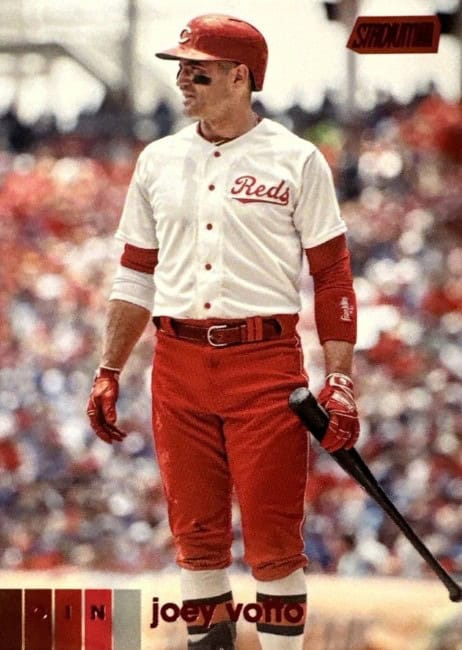
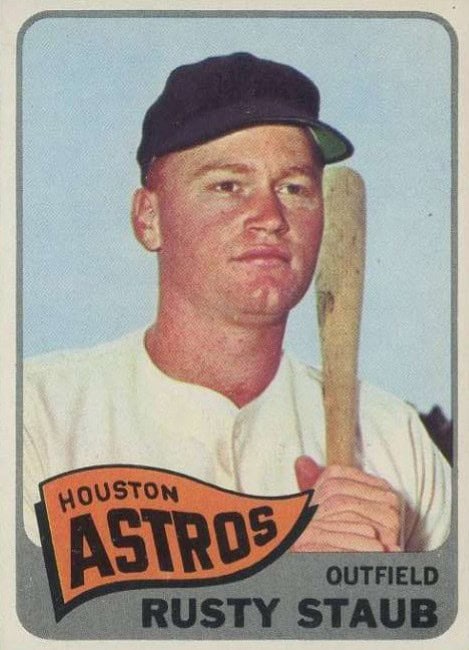
A good template saves time and ensures consistency across multiple cards. If you’re designing a set, even for fun, templates keep your formatting aligned and your elements in proportion. You can look at other baseball cards for inspiration. For example, Stadium Club are known for full bleed photography, whereas cards from older Topps sets have defined borders.
Start by choosing a canvas size. Most baseball cards are 2.5 inches wide by 3.5 inches tall. In pixels, that’s 750 by 1050 at 300 DPI. Working at high resolution ensures clean prints.
Use guides to establish margins and bleed areas. Printers sometimes crop imperfectly, so allow at least 0.125 inches around the edges. Set up separate layers in your design software for:
- Photo
- Text
- Border
- Background
- Design accents
Label your layers clearly. This helps if you come back to edit or duplicate the template. Save your file as a working file (.PSD, .XCF, etc.) and export as a flattened PNG or JPEG when you’re ready to print.
If you’re not comfortable with graphic design software, there are free or low-cost template tools available:
- Canva has pre-built sports card templates you can customize
- Pixlr is a browser-based editor with layers
- GIMP is a powerful free alternative to Photoshop
Just make sure your output matches the size and resolution needed for printing. You don’t want to spend your valuable time designing, only to find it doesn’t fit on your cardstock.
Finding and Preparing Photos
The image is what gives your card life. It doesn’t need to be professional, but it should be sharp, well-lit, and expressive.
Taking Photos
Use a phone or digital camera with a decent resolution. Outdoor lighting often produces better results than indoor lighting. Keep your subject centered and leave room around the edges for cropping.
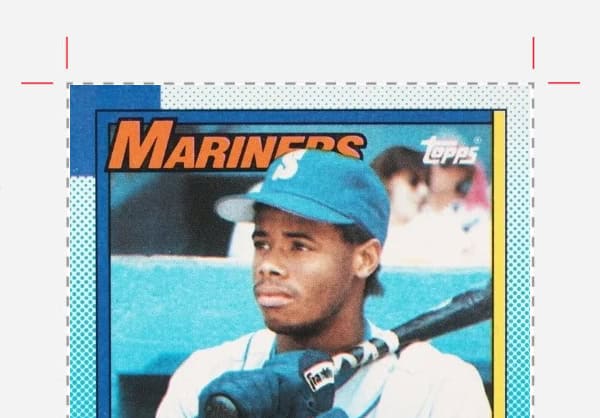
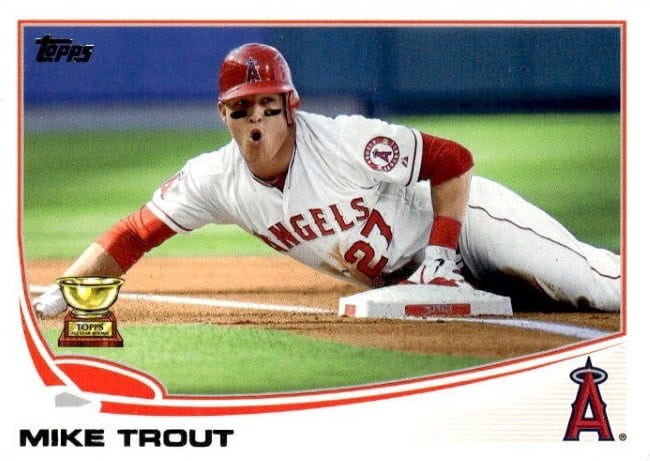
Have your subject pose in a way that mimics real baseball cards – batting stance, pitching pose, glove up. For pets or kids, candid shots can be more fun. If you want to recreate a famous card pose, use that as your reference. Examples include the 1989 Upper Deck Ken Griffey Jr. card, or something fun like the Joe Oliver blooper card.
Editing Tips
Open your photo in your editor of choice and follow these steps:
- Crop the image to the card’s proportions
- Adjust brightness, contrast, and saturation for clarity
- Remove distracting backgrounds using layer masks or background erasers
- Apply filters or effects to match your card’s design theme
Add shadows or outlines behind the subject if they blend into the background. Text should never sit directly on complex areas of the image. Use shape layers or semi-transparent bars for readability.
One thing to keep in mind with custom baseball cards is that photos, logos and names are copyrighted and licensed for use by card companies. It’s important not to use any content that doesn’t belong to you, especially if you plan to share or sell your cards. Instead, shoot your own photos or use royalty-free image sites if you’re making fictional or parody cards.
Designing the Card
Once you have your photo and template, the fun begins. Start with the front. Drop your photo into the designated layer and adjust the size to fit naturally.
Front Design Elements
- Name: Use bold, easy-to-read fonts. Choose fonts that reflect the card’s tone – retro, modern, playful.
- Position and Team: Smaller font size under the name. Use all caps or italics for emphasis.
- Year or Set Title: Add this subtly in a corner or along the top border.
- Border and Effects: Create depth with inner shadows, glows, or foil textures.
Back Design Elements
Use your text tool to lay out the stat box and biographical info. Stats can be completely fictional or realistic if you’re commemorating a real season. Create a table using shape layers or cell borders for clean alignment. Use smaller fonts for the stat grid but keep it legible.
Add a short player write-up. This can be humorous, serious, or personal. A well-written blurb brings the card to life.
Fictional Examples
- “After three seasons dominating the neighborhood wiffle ball circuit, Mikey ‘The Slider King’ Thompson turned pro at age 9. Scouts say his fastball might top 35 MPH someday.”
- “Samantha led her team in home runs last year, swatting a prodigious 8 round-trippers en route to her first All-Star Game. In her spare time she loves swimming and puzzles.”
Real World Examples
- 1967 Topps Mickey Mantle #150: “Mantle rocked 7 home runs in five game tear last year. Mickey was named the A.L.’s Most Valuable Player in 1956, 1957 and 1962.”
- 1987 Topps Barry Bonds #320: “Barry majored in Criminal Justice at Arizona State. His father, Bobby, played major league ball, 1968-1981, and coached Cleveland Indians in 1986.”
- 1995 Topps Barry Larkin #350: “Barry’s feet have propelled him to one of the top ten stolen base %’s (.832) in history, but he literally played his first ML game in someone else’s shoes. His own were lost, so he borrowed those of Mgr. Pete Rose.”
Optional Elements to Enhance Your Card
If you want to add complexity or flair, consider these extras:
- Autograph Simulation: Scan a signature and overlay it with blending modes or filters
- Foil or Hologram Effects: Use gradients, textures, and layer modes to simulate metallic or shiny surfaces
- Card Backs for Sets: Create different back templates for subsets or “chase” cards
- Card Numbers: Number your cards as part of a fictional set (e.g., 7/20)
- Parody Logos: Design team logos that resemble real ones without copying them
These elements help your card feel more like something you’d pull from a pack.
Printing Your Custom Baseball Cards
Printing is where digital design becomes something tactile. For best results, stick to standard trading card dimensions: 2.5 x 3.5 inches.
Printing at Home
Use a good quality inkjet or color laser printer. Here’s what you’ll need:
- Cardstock: 80-110 lb. weight gives a sturdy feel. Look for smooth or satin finishes.
- Paper cutter: Scissors often leave uneven edges. A guillotine or rotary cutter gives clean lines.
Print at 300 DPI or higher. Avoid stretching your design after exporting. Set your printer to “Best Quality” or “Photo” settings. Print a test page first to ensure color accuracy and alignment. You can print multiple cards on one sheet with proper spacing and cut guides.
Stores like Walmart, Staples and Walgreen’s can also help you print files. You can place an order via their website or stop into the store to get help.
Legal and Ethical Considerations

You can make amazing baseball cards for personal use, but copyright laws still apply. Do not:
- Use official MLB or MiLB logos or team names
- Use photos of professional athletes without permission
- Sell cards that use trademarked designs, names, or likenesses
Instead, celebrate the fun of making custom baseball cards by creating them for your family and friends. These personalized cards can become cherished keepsakes that capture inside jokes, memories, and shared experiences. You might also design cards for your softball team or rec league, adding a playful layer of camaraderie and recognition.
If your kids play sports, consider making cards for their team. It’s a creative way to mark a season, highlight achievements, and build excitement. Pets in uniforms can also be an entertaining subject – imagine your dog as a cleanup hitter or your cat as a shortstop.
Birthday parties offer another opportunity. Custom cards can be included in goodie bags or handed out as party favors. As long as you’re not selling or distributing them as official products, you’re free to be as creative and playful as you want.
Here are a few offbeat themes to get you started:
- Petball Cards: Cats as catchers, dogs in the outfield
- Historical Figures: Abraham Lincoln with a .456 on-base percentage
- Office Team Cards: Your coworkers in baseball poses with fake bios
- Family Legends Series: Grandpa’s softball glory days recreated
- Holiday Cards: Santa’s sleigh team as a 9-player lineup
Make it personal, make it absurd, or make it a tribute – there’s no wrong way to play.
Storage and Display
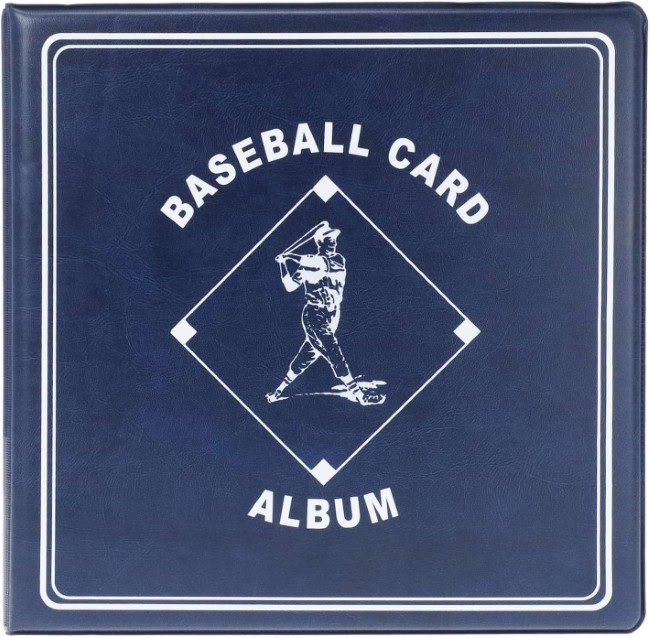
Once you’ve made your cards, don’t forget to protect them. Even if they’re just for fun, a little care goes a long way in preserving their appearance and sentiment. One simple option is to use standard top loaders or soft sleeves – these are the same types of protective covers used by collectors to shield cards from wear and handling.
You can also store your custom cards in 9-pocket binder pages. This method keeps them organized and easy to flip through, especially if you’re building a themed set. For a more decorative approach, consider displaying a full set in a frame or shadow box. It’s a great way to showcase your creativity and turn your designs into a display piece.
Another idea is to include the cards in gift bags or holiday cards. Whether you’re giving them to teammates, family members, or friends, these small additions make thoughtful and personal touches. Even if your custom cards are novelty items, they’re worth preserving like real collectibles.
Final Thoughts
Making your own baseball cards blends creativity with nostalgia. The tools are accessible, the process is rewarding, and the results are often hilarious or touching. Whether you’re honoring a weekend warrior, surprising a baseball-loving friend, or turning your dog into an All-Star, custom cards offer a hands-on way to enjoy the hobby from a different angle.
Just remember: stay respectful of intellectual property, use your own photos, and keep it fun. The next great card design might not come from a big company – it might come from your own desktop.